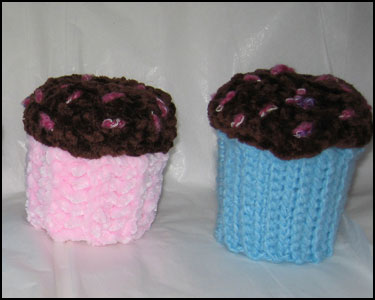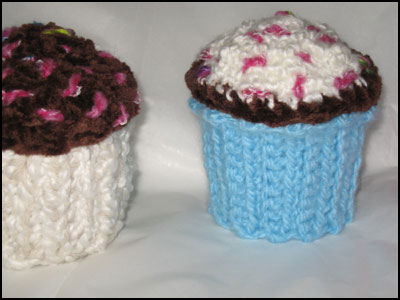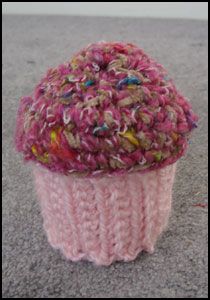
I came up with these cupcake containers as a multi-purpose gift this past Christmas.
Each "cup" is formed around a yogurt container, with chenille "cake" and "sprinkles" on top.
I filled each one with jewelry, lip gloss, and other fun trinkets.
They're a great way to re-use yogurt cups and finish off yarn scraps.
 Yarns:
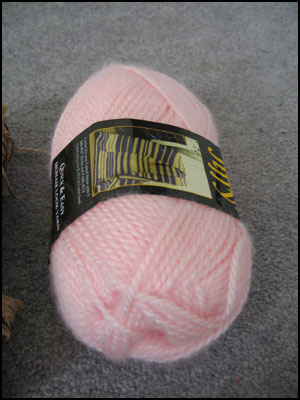
 It doesn't really matter what kind of yarn you use to form the "cup" - I try to go with a pastel color, usually something fuzzy.
Thick chenille looks good and works up quickly, but for this tutorial, I used
Lion's Jiffy (mohair-ish stuff).
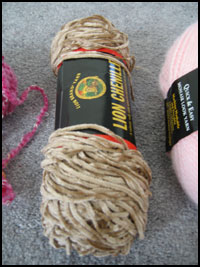
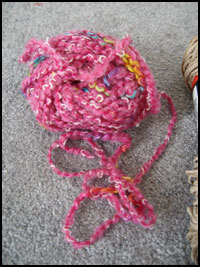
For the cupcake top, I've used different combinations of chocolate-colored chenille and pink boucle, even white Homespun. Go wild - use whatever yarn you like to create the texture/color you want.For this demo, I used the
mocha Lion Chenille, and a bright pink bouclé (I'm not sure of the brand, sorry - pink
Polarspun is another great fiber to use, too, if you can find it).
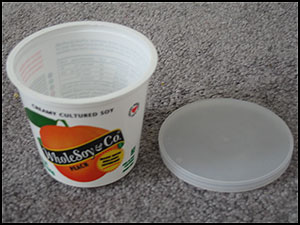
You'll also need a thoroughly clean, dry yogurt cup and lid.
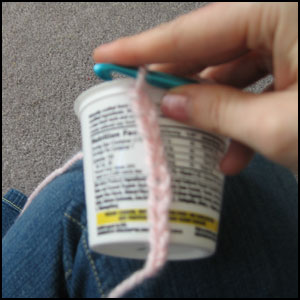
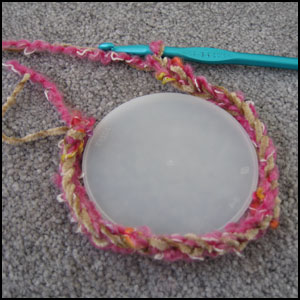
Using an appropriately-sized hook (I used a K here), start by chaining to the height of the yogurt cup (probably 8-10 stitches).
Turn, single crochet into the second stitch, and continue up the length of the chain.
Stitch enough rows to fit around the cup (or to fit whichever end has the smaller diameter - the yarn will stretch slightly to fit the larger end).
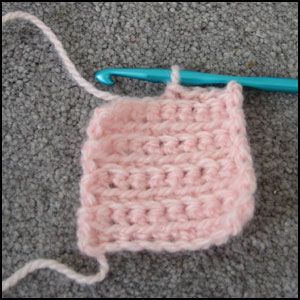
Close off the tube with a row single crochet.
If you want to add a little texture (to emulate the ribbed look of a paper cupcake cup), just stitch through the
front and back loops only, alternating on each row.
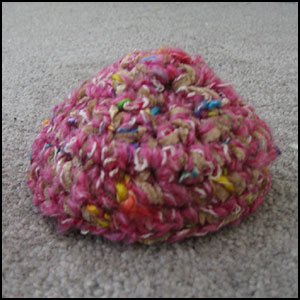
In the cupcakes pictured above, I used one yarn color to complete the top, then went back in later and added the boucle "sprinkles" with a tapestry needle.
For the top on this version, I mixed one strand each of the chenille and boucle.
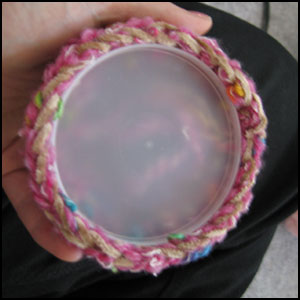
Chain enough to fit snugly around the outside of the lid.
Close with a slipstitch, then single crochet at least 5 rounds.
You can freeform a little here - make the cupcake top as tall or short, flat or round, as you like.
After that, decrease on each row by skipping every other stitch, continuing until you reach the center.
You should end up with a little dome.
To finish, slip the dome-shaped piece over the plastic lid, then secure with a few drops of glue around the rim.
Hot glue or craft glue will work equally well.
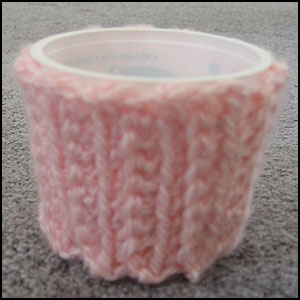
A little glue under the yarn on the cup is probably also a good idea, to keep the "cup" in place.
Once the glue is dry, fill the inside with goodies, snap the lid on, and you're done!